Dialing in your first espresso is easier when you follow a repeatable process. These five steps give you a practical starting point and help you make adjustments based on what you taste.
Table of contents
- Start with 18 g of coffee, ground medium-fine, extracting 36 g in 25-30 seconds (a 1:2 ratio).
- Correct one variable at a time: grind is the main lever, dose almost never.
- Shot runs too fast → grind finer; too slow → grind coarser.
- Tamp flat and vertical, with steady pressure.
- Write down every shot: dial-in is learned from shot data.
What dial-in actually means (in one sentence)
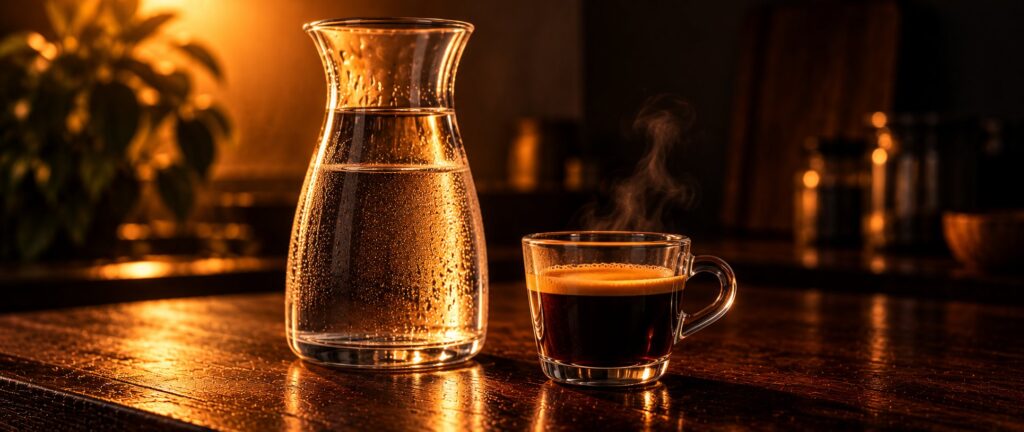
Dial-in is the calibration of grind size, dose and extraction time until the espresso is balanced: even crema and a cup with no sharp acidity and no burnt bitterness.
The word “dial” comes from the grinder knob — the variable you touch almost every single time. The full definition is in our coffee glossary; this is the working procedure.
The five minimum tools for a real dial-in
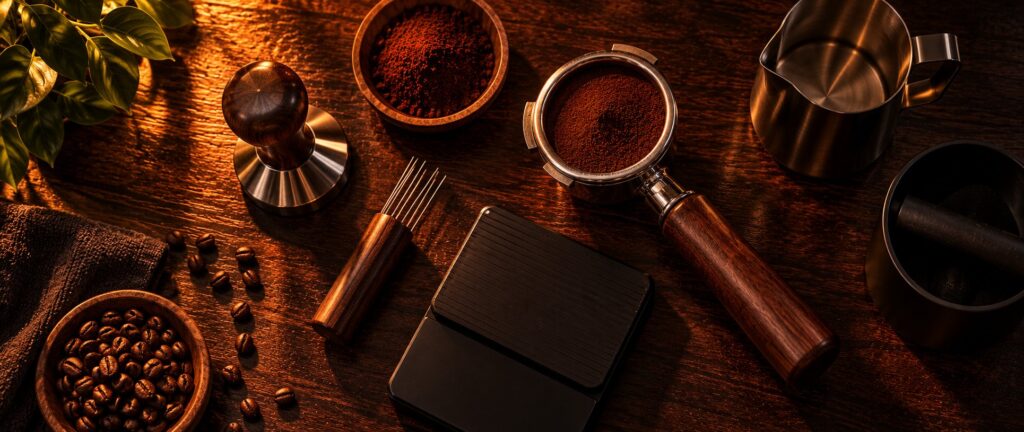
You do not need a $2,000 machine to dial in your first espresso: you need these five tools, summarized in our guide to espresso accessories.
| Tool | What it does in the dial-in | Price range |
|---|---|---|
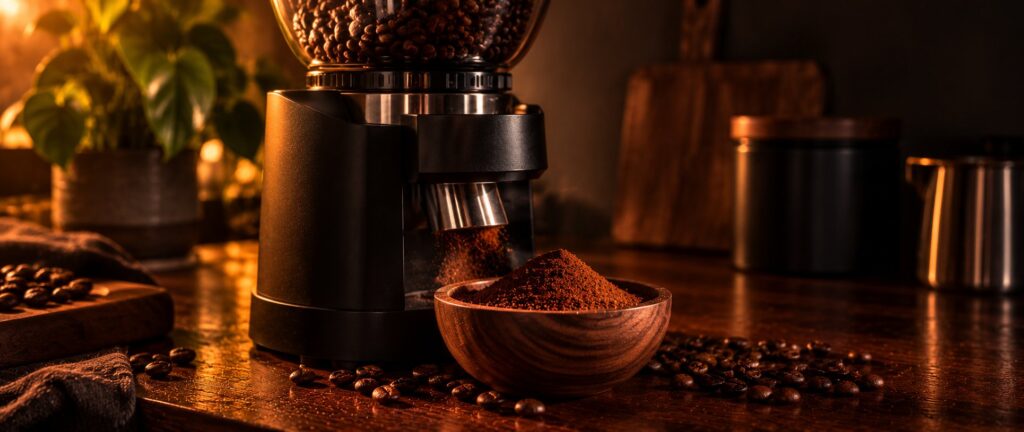
| Grinder that grinds at home | The first variable: without a fresh grind there is no dial-in | $40 (manual) to $300 (electric) |
| 58 mm portafilter | Holds and distributes the dose | $20-60 |
| Tamper | Compacts the dose into an even surface | $15-40 |
| Scale with timer | Weighs dose and yield to 0.1 g | $30-80 |
| Timer | Measures extraction seconds | $0 (your phone works) |
Step 1 — Dose and grind: 18 g, medium-fine
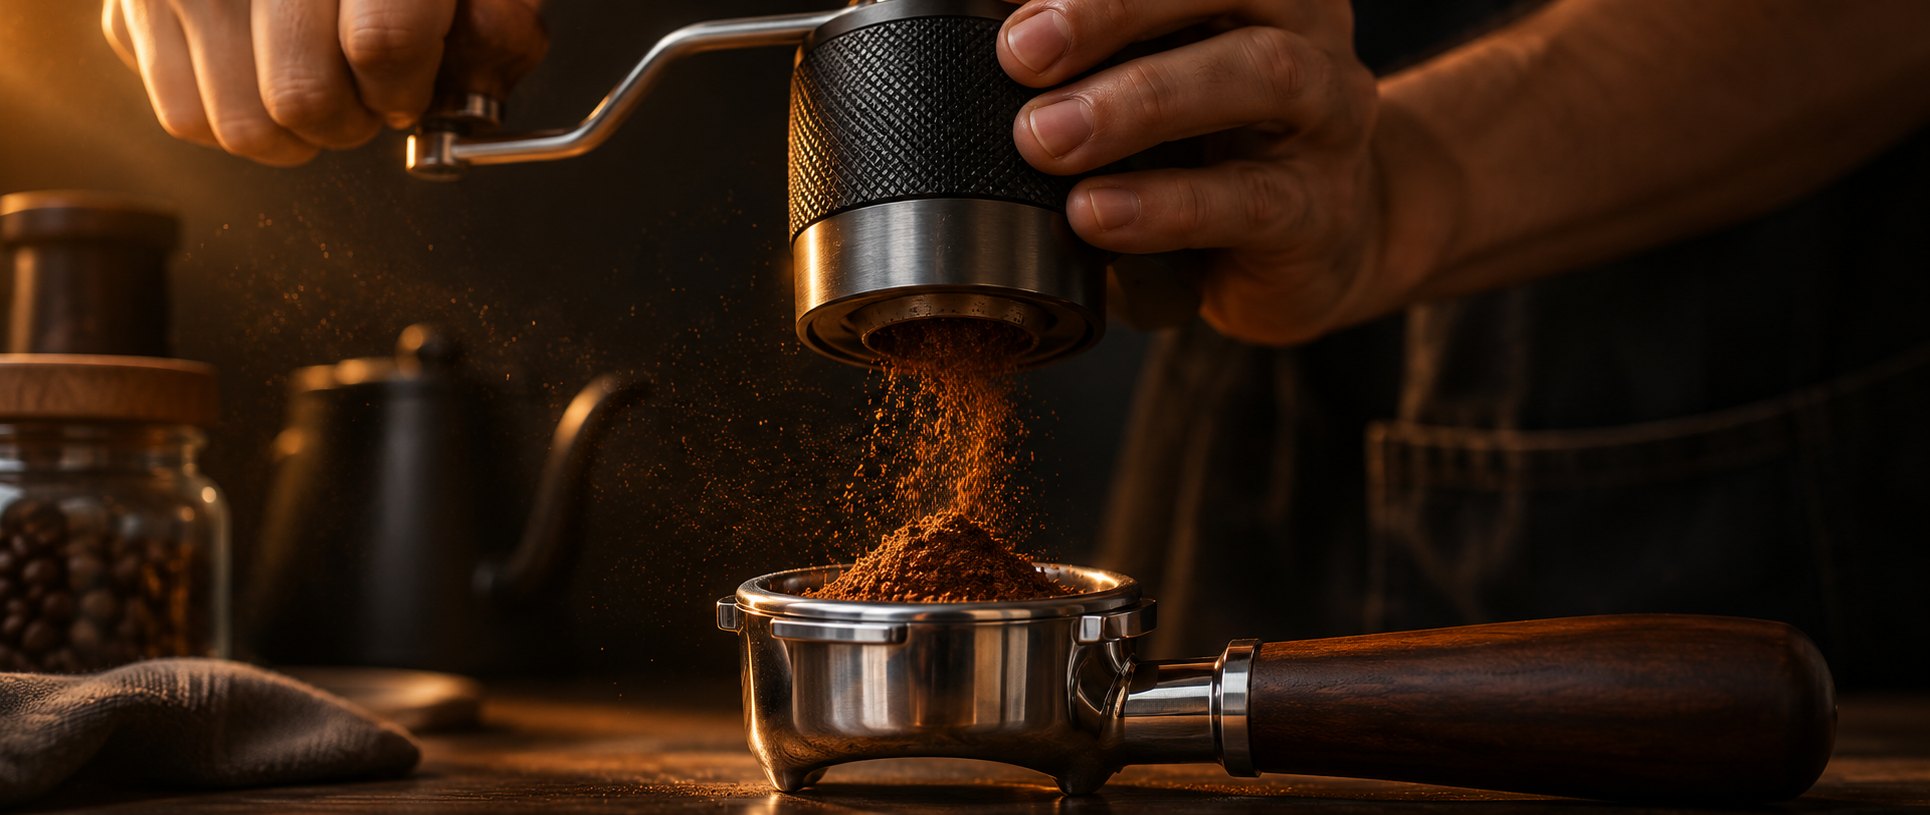
Take 18 g of coffee: the dose is weighed, never guessed. Grind medium-fine — coarser than table salt, finer than filter sand. Practical check: the grounds should look like damp coarse salt, not tobacco powder.
With a double basket, 18 g is the standard dose; with a single, start at 9-10 g. A fresh grind is the precondition for everything: the complete guide is in our article on the espresso grinder.
Step 2 — Tamp: flat, vertical, steady pressure
Set the tamper parallel to the counter and press straight down with steady force: without vibrating the tamper or twisting at the end.
The pressure itself matters less than people think; what matters is that the grounds end up flat and even, because water always takes the path of least resistance.
A tilted tamp makes the shot pour in a gush from one side and drip from the other.
Step 3 — Pull the shot and read three numbers
Start the extraction and note three things: how many grams come out (the yield), how many seconds it takes, and how the stream looks. The reference to start from:
| Parameter | Reference | If you are off |
|---|---|---|
| Dose in | 18-20 g | Not the first variable to touch |
| Yield | 36-40 g | Cup too short → more time; too long → less |
| Time | 25-30 s | A guide, not a target |
| Stream | Steady, chocolate-colored | Gushing fast stream → grind finer; slow drips or stall → coarser |
Step 4 — Taste and correct one variable at a time
This step decides whether the method works. The golden rule: one change per test, and you always start from the grind.
| The problem | What is wrong | The fix |
|---|---|---|
| Drips in 15-20 s, sour and harsh | Under-extraction | Grind one click finer |
| Creeps in 40-50 s, bitter and astringent | Over-extraction | Grind one click coarser |
| Pours in gushes and drips at once | Channeling | Even distribution and a flat tamp: see dial-in mistakes |
| Time is right, but the cup is flat | Dose or coffee not enough | Try +1 g of dose; if nothing changes, it is the coffee |
One click at a time, then taste again: two clicks of the knob shift the extraction by 5-10 seconds, so never jump to “half a turn”.
The complete logic — why a shot is sour, why it is bitter, how to use time as a compass — is covered step by step in our guide to dial-in mistakes.
Step 5 — Write every shot: the dial-in notebook
For each test note down: date, coffee and roast date, dose, knob setting (the number, if it has one), yield in grams, seconds, and a one-word verdict.
After ten shots you will have two things no tutorial can give you: a reference grind for your everyday coffee, and the habit of correcting with data instead of with feelings.
Keeping the notebook is what turns an occasional good shot into a repeatable one.
The three beginner mistakes that waste hours
- Turning dose and grind together. If you change both, you do not know which one improved (or ruined) the shot. One variable at a time, always.
- Treating the seconds as a command. 25-30 s is a starting zone, not a law: a 32-second shot that tastes right beats a 25-second shot that tastes burnt. Taste is what decides.
- Starting with the wrong coffee. No dial-in rescues six-month-old pre-ground coffee: a fresh grind is the foundation, and the right starting point is beans roasted recently. The complete method, from grind to cup, is in our article on how to make a good espresso.
Dial-in rewards routine: ten minutes in the morning, one variable at a time, and the shot stops being random.
With the right tools and written references, you have everything you need — the scale, the WDT tool and the pressure gauge you want are all in the tools section.
The first dial-in tools (selected from official specs)
| Product | Feature | Best for | |
|---|---|---|---|
| Tipre scale with timer | 0.1 g, timer | The three numbers: 18 in, 36 out, 28 s | View on Amazon |
| 58 mm tamper | Constant pressure | Repeatable tamp = repeatable shot | View on Amazon |
| MHW-3BOMBER puck screen | Double layer stainless steel | Less false channelling | View on Amazon |
Saving a dial-in: the recipe outlives the coffee
Verdict: the notebook records numbers, the recipe preserves context. Without the roast date and a note on the lot, yesterday’s line becomes unreadable two weeks later.
A complete row: date, coffee and roast date, dose, collar position, yield, seconds, one-word verdict. Copy the collar reading while the collar is stationary, never from memory.
When a bag runs out, the recipe still pays off: dose, ratio and time all transfer as a starting point. Usually you only trim the grind a few clicks instead of starting from zero.
A bar trick: log the discarded shots too. The “too sour” rows mark the edge of the settings that work, so you do not re-pull a setting you already eliminated.
After cleaning the burrs, how to find your setting again
Verdict: pulling the burrs apart almost always shifts the grind by a few positions. You need a repeatable reset, not muscle memory.
Before disassembly, photograph the collar and count the turns it takes to unscrew. Those two data points turn reassembly into a precise operation instead of a fresh lottery.
After reassembly, discard two or three shots: the first grind always reads coarser until the burrs settle back in. Then pull three shots on the old recipe and see which number moved.
Most of the time a quarter turn finer recovers it. If the gap is huge, check that the burr carrier is fully screwed in and the gasket is not dry, nicked or crooked.
Light roasts on machines without a PID
Verdict: a light roast can be extracted well without a PID, but you must give the machine the time it lacks: ten minutes of standby, one blind flush.
Light roasts need hotter water and more energy to dissolve their solids. Pressurestat-controlled boilers typically run a few degrees under a stabilized PID machine, and light coffee shows that gap as sharp acidity.
The countermeasure is free: leave the machine on for ten full minutes before the first shot, then run a group flush to waste. Group temperature matters more than boiler temperature here.
Then grind finer than your usual reference and lengthen the extraction, not the dose. If the sharpness persists, work through the common dial-in mistakes list before touching the temperature.
Approfondimento esterno: voce enciclopedica sul caffè.
More useful spares and accessories for this article
| Product | Feature | For whom | |
|---|---|---|---|
| Diyife scale with timer | 0.1 g / 2 kg, USB | Always the first purchase | View on Amazon |
| Borbone ESE pods Light 150 | Compostable, -50% caffeine | ESE without the sleepless night | View on Amazon |
| Gaggia MD15 | Conical burrs, compact | First electric grinder | View on Amazon |
| Gaggia Classic Pro | 58 mm brass group, parts everywhere | The buy-it-for-now upgrade | View on Amazon |
| WECOOK Paola 1-cup | Aluminium, single serving | One cup, zero waste | View on Amazon |
| 58 mm double basket | Stainless steel, double | Serious spare when the old one clogs | View on Amazon |
| Flintronic TDS meter | Digital, ±2% | Measure your water first | View on Amazon |
| Set 12 porcelain cups | 80 ml, dishwasher safe | Espresso deserves proper cups | View on Amazon |
| Airtight jar 1.5 L | Steel, holds 650 g | The week's supply, sealed | View on Amazon |
As an Amazon Associate I earn from qualifying purchases. Note: some links on this site are affiliate links: if you buy through them, I may earn a commission at no extra cost to you. Affiliate links never influence my recommendations.