How to make espresso at home does not require bar equipment: it requires a method, three constant numbers and fresh coffee. This guide covers the whole path — machine, grinder, parameters, water, dial-in and mistakes to avoid — using the standard values of specialty practice, so every step can be measured and repeated. The core rule is one: dose, ratio and time before any other variable.
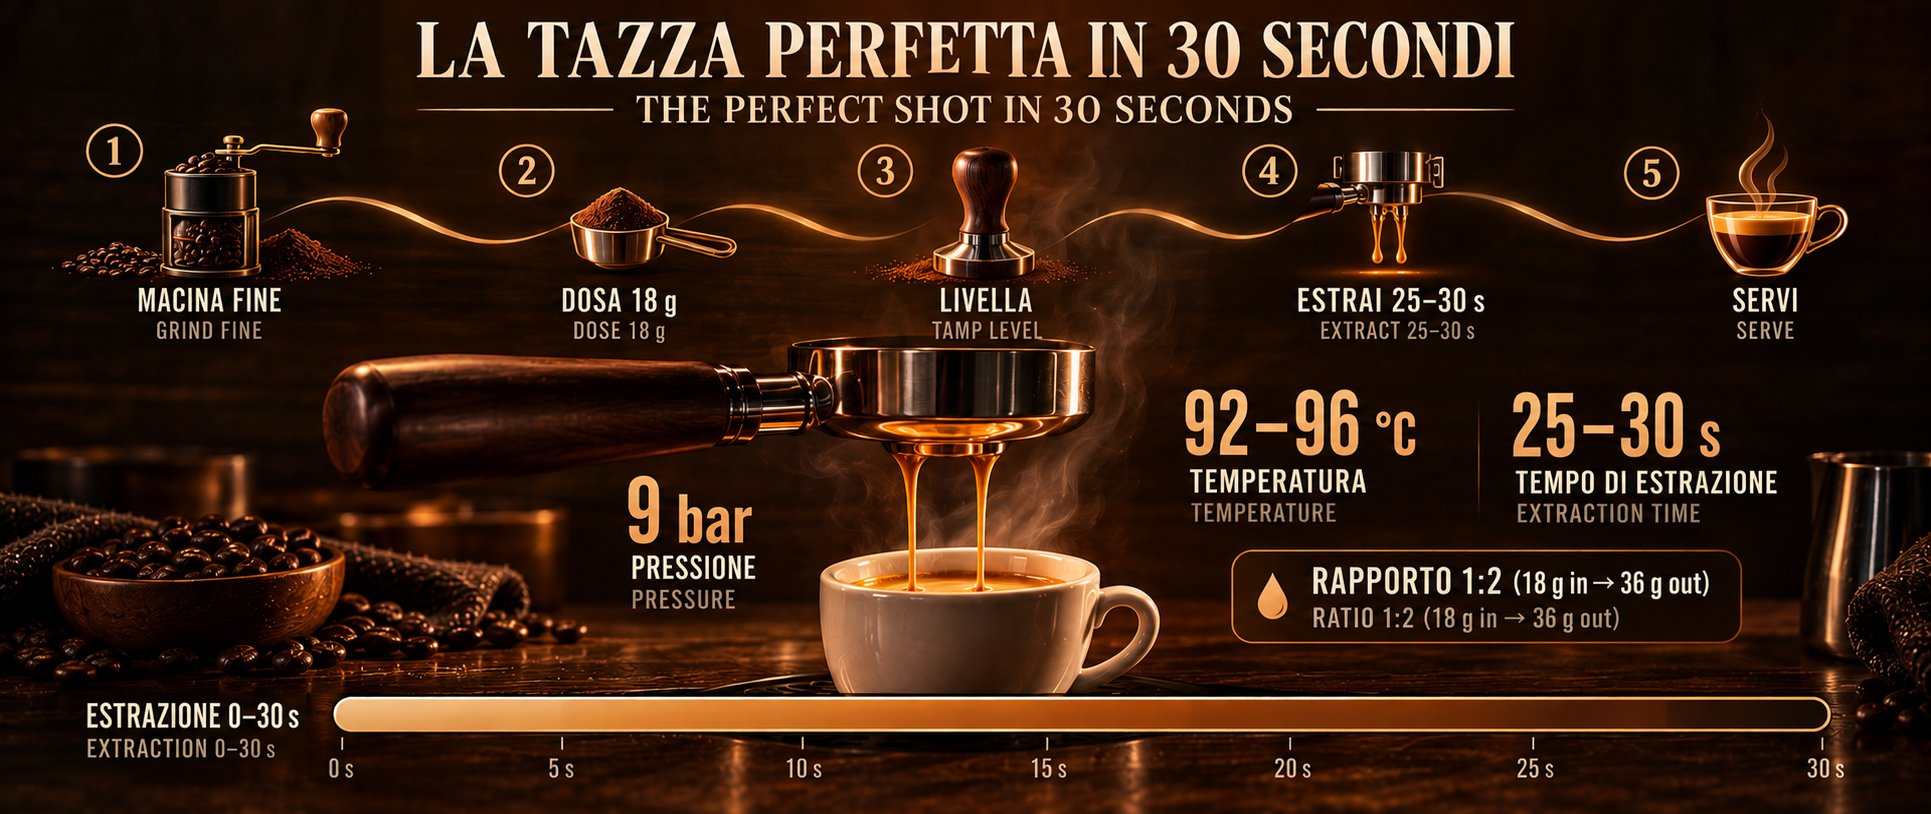
- The trio to memorize: dose 18–20 g, yield 36–40 g, time 25–35 s — always at a 1:2 ratio.
- Weigh the dose, grind fresh, and change one variable at a time (usually the grind).
- Time is a symptom, taste is the destination: you stop when the cup is right, not when the timer says so.
The minimum setup: machine, grinder, fresh coffee
Before the numbers, the hardware. The good news: the setup that works costs less than you think, and the piece that improves the cup the most is not the machine.
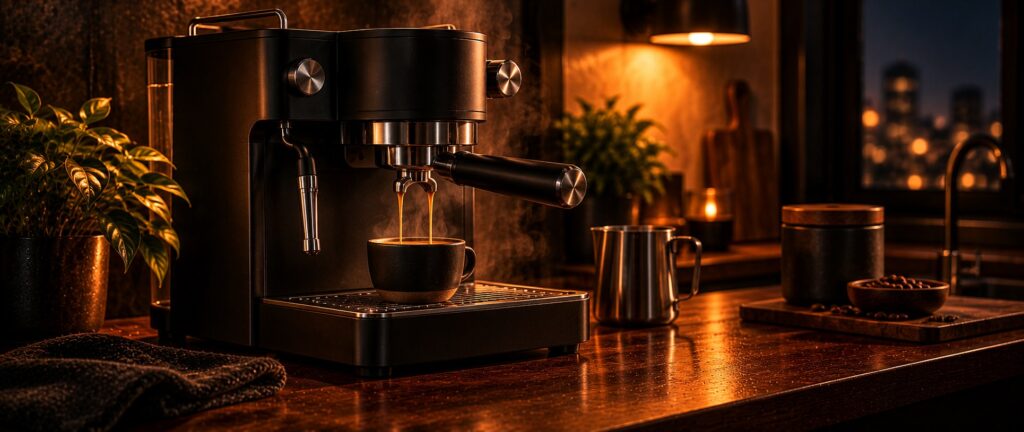
The minimum setup that works has three pieces: a semiautomatic machine with a pump, a burr grinder (never a blade) and freshly roasted whole-bean coffee.
Of the three, the grinder is the piece that improves the cup the most: a decent grinder on an average machine produces a better espresso than a cheap grinder on the priciest machine on the counter.
The machine
For the machine, the entry level sits on average between 300 and 500 euros: vibration pump, thermoblock, 54 or 58 mm portafilter, continuous steam.
Above 700–800 euros you enter the territory of copper E61 group heads, more stable in temperature and longer lasting.
At home the 58 mm format is the recommended standard: spares, portafilters and accessories cost less and are available everywhere. The specs of the individual pieces are in the equipment section.
The grinder
For the grinder, the reference point is a 40–48 mm flat-burr model in the 150–300 euro range, or a 64 mm one if the budget goes above 500 euros.
The difference is particle uniformity: even grounds extract evenly, while too many fine fragments burn over and the coarse ones stay underextracted, ruining the cup.
For espresso, the coffee is always ground fresh, right before the shot.
The coffee
Buy whole bean with a readable roast date: for espresso, the best window sits on average between 7 and 30 days from roast, depending on the profile.
Medium-dark roasts for the classic bar taste, lighter ones for a cleaner, more descriptive cup. Two hundred fifty grams at a time beats a kilo that ages in the cupboard.
The three numbers: dose, yield, time
The language of dial-in is three numbers, and mastering them is where the cup is won.
Dose (coffee in grams), yield (liquid in grams) and time (seconds). The reference values from specialty practice are: dose 18–20 g, yield 36–40 g, time 25–35 seconds, working pressure around 9 bar, brew temperature between 90 and 96 °C. For these standards the reference source is the Specialty Coffee Association.
| Parameter | Standard value | What it does |
|---|---|---|
| Dose | 18–20 g (double) | Coffee in the basket, weighed |
| Yield | 36–40 g | Liquid in the cup, 1:2 ratio |
| Time | 25–35 s | Tells you if the grind is right |
| Pressure | around 9 bar | Pushes water through the cake |
| Temperature | 90–96 °C | Extracts without burning or rinsing |
The ratio — yield divided by dose — is the number that matters most: 1:2 is the espresso standard.
Time is a symptom, not a target. At the same dose and yield, if your 36 g arrive in 18 seconds the grind is too coarse; if they take 50 seconds it is too fine.
That is why you adjust the grinder to land in 25–35 s and then fine-tune with taste.
The single shot uses a 9–10 g basket with an 18–20 g yield: same 1:2 ratio, same time window. Machines with 54 mm portafilters work with 14–16 g doses and 28–32 g yields, same logic.
Water: over 90% of the cup (and the most ignored variable)
Water is over 90% of the cup and the most ignored variable. The reference values are: total TDS 80–120 ppm, hardness 50–75 ppm as CaCO3, pH 7–7.5, bicarbonates 40–60 ppm.
Water that is too pure (reverse osmosis or distilled) makes flat cups and, over time, corrodes the internal circuits. Water that is too hard scales the boiler and the group and flattens the cup, masking the aromas.
There are three practical paths at home:
- Filter mains water with a good carbon filter and check the TDS now and then with a conductivity meter.
- Start from reverse-osmosis water and bring it back to 80–120 ppm with calcite or gypsum, dosing by the gram.
- Use bottled water with low to medium mineral content: acceptable, but less stable over time.
Either way, descaling every 3–6 months stays on the calendar: the interval depends on the hardness of the water you use. A simple reference: the water you use to fill the reservoir is the same water that ends up in the cup, and its mineral content is the second ingredient after the coffee.
How to make espresso: dial-in, step-by-step
Dial-in happens one coffee at a time, changing one variable at a time: the primary variable is the grind, while dose and ratio only move when needed. This is the protocol you repeat every time you change coffee, week or machine.
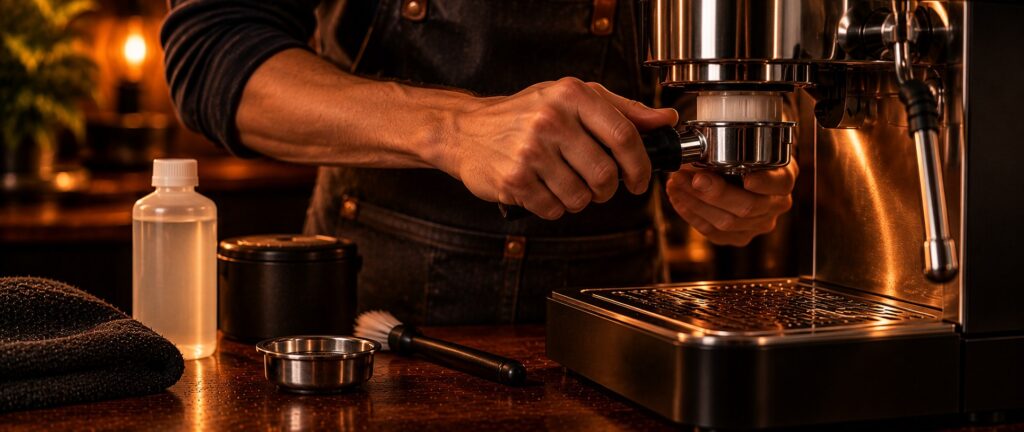
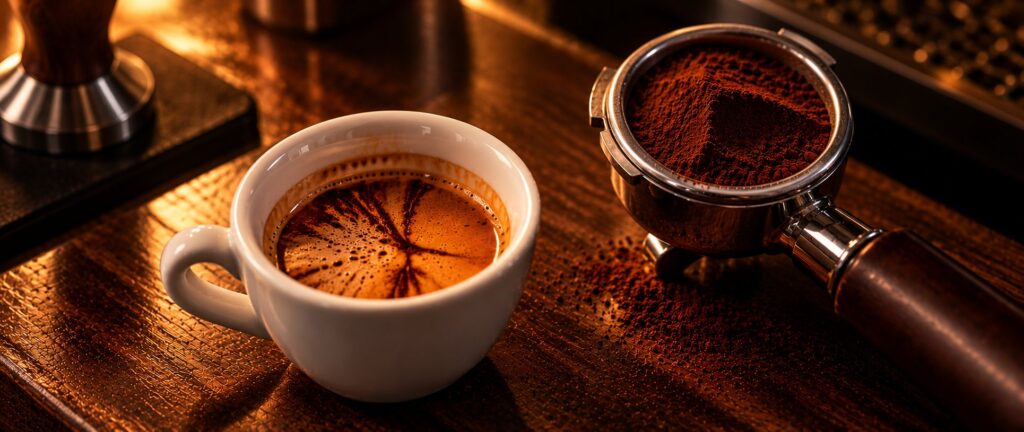
- Grind 18 g of fresh coffee at a medium-fine setting, distribute the dose (WDT or a few taps of the portafilter) and tamp vertically with a 350–400 g tamper.
- Start the shot with the cup on the scale: note the exact dose, say 18.0 g, and target 36 g of yield while keeping an eye on the time.
- If the time is outside 25–35 s, move the grind 1–2 clicks finer or coarser and try again, waiting 10 minutes between attempts.
- Once the time is right, taste: sour and dry cup, grind too coarse; bitter, astringent cup that shuts the palate down, too fine. One variable at a time.
- Log every attempt: date, coffee, dose, relative setting, yield, time, tasting note. After five or six attempts the setting sits in a 2–3 click window.
A note on frequency: with the same coffee and the same setting, a dial-in lasts on average 5–7 days before the coffee starts to age and asks for a correction. At that point you need a one-click adjustment, not a dial-in from scratch.
Mistakes to avoid (and how to fix them)
- Pre-ground coffee, or coffee ground days ago: aroma is lost within the first hours after grinding, so always grind right before the shot.
- Dosing by eye: 16 g and 20 g change the cup more than half a grind setting. The 0.1 g scale is the accessory with the best price-to-quality ratio in the whole setup.
- Chasing time instead of taste: 30 seconds with a sour cup is worse than 35 seconds with a round one. Time is the compass, taste is the destination.
- Cold portafilter and cup: the first shot on a cold machine is always worse than the second. Heat the group for 30–60 seconds and preheat the vessels.
- Wrong water: pure reverse osmosis or very hard mains water, without measuring the TDS.
- Dirty baskets: damp residue between one shot and the next creates channels and sourness. Every basket is emptied and rinsed after each use.
Symptom in the cup, cause, fix
If you arrive with a specific problem, most symptoms are solved by moving the grind or the dose. This is the table we use to diagnose by eye:
| Symptom in the cup | Likely cause | What to move |
|---|---|---|
| Light crema, sour and dry cup | Under-extraction: grind too coarse | Grind one click finer |
| Bitter, astringent cup that “shuts down” | Over-extraction: grind too fine | Grind one click coarser |
| Dripping drop by drop, time 40–50 s | Grind too fine / dose too compact | Coarser grind, lighter tamp |
| Runs fast, time 15–20 s, weak cup | Grind too coarse | Finer grind |
| Uneven crema, channelled flow | Distribution and channeling | WDT, tamp vertically, clean basket |
In short: an entry machine with a 58 mm group, a flat-burr grinder, a 0.1 g scale, measured water and a dial-in guided by three numbers. That is the path from an acceptable coffee to a consistent espresso within a few weeks of practice. The specs and buying criteria of the individual pieces are in the tools section.
Note: Some links on this site are affiliate links: if you buy through them we may earn a commission at no extra cost to you. Affiliate links are marked and never influence our recommendations.